Requirements
- WordPress
- WooCommerce Plugin
- WooCommerce 360 Image Plugin
- WooCommerce Google Product Feed Plugin
Product Creation
- Log into your WordPress dashboard.
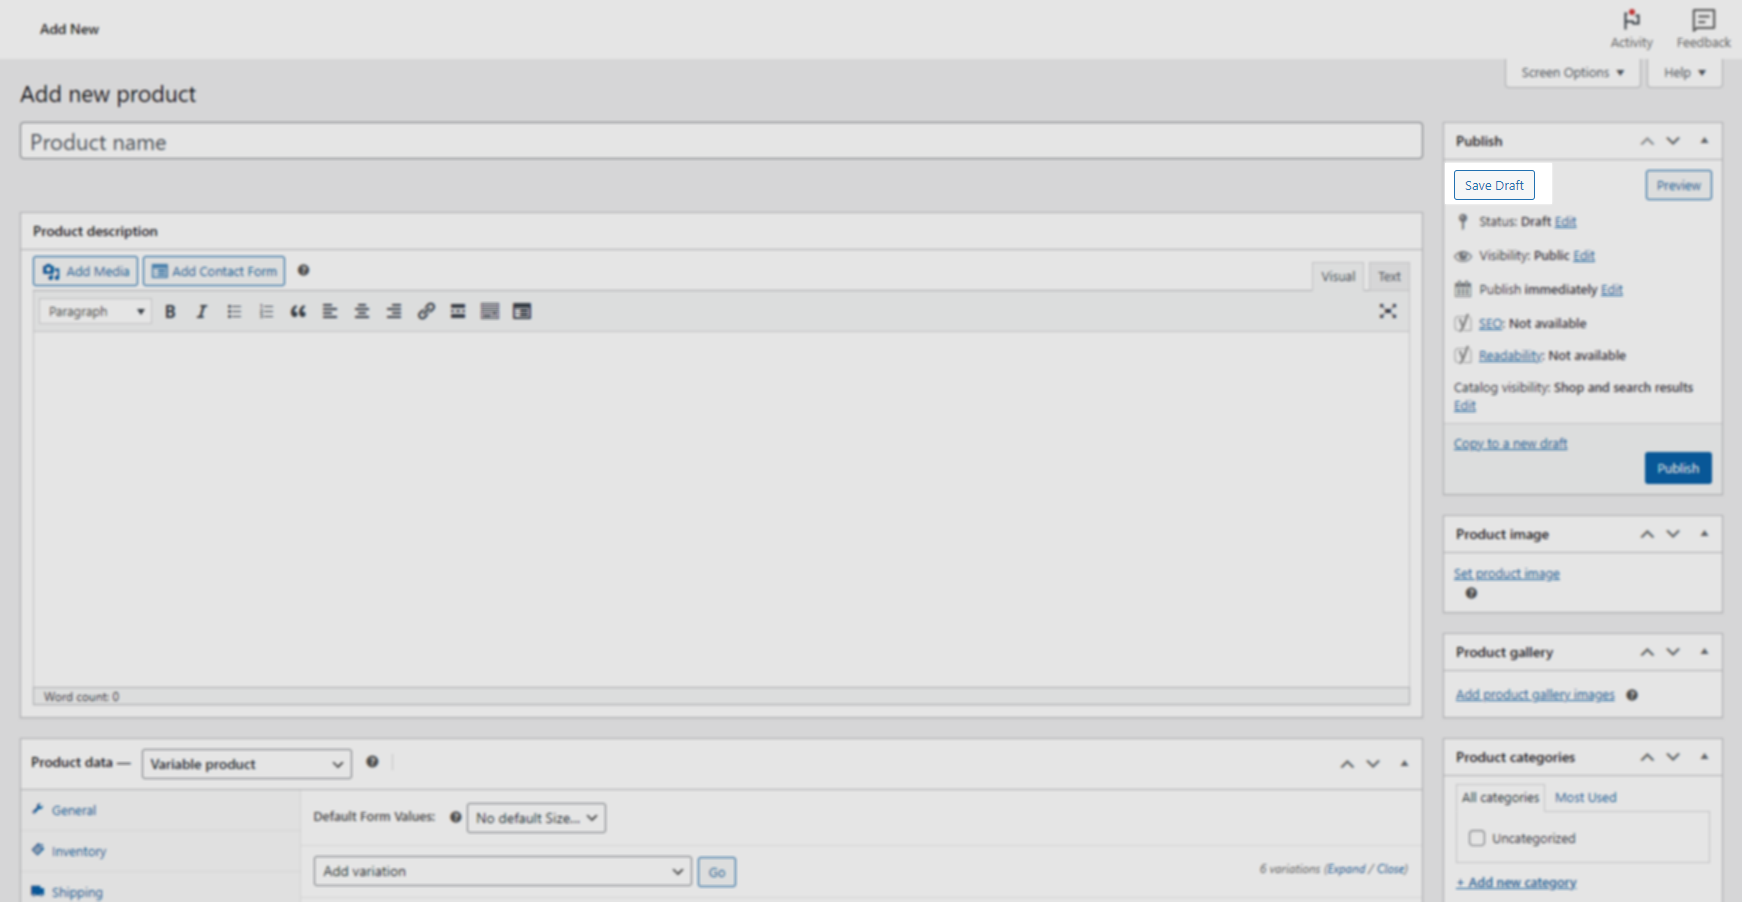
- Click on Products > Add new product in the left sidebar.
- Select “Variable Product” from the dropdown menu.
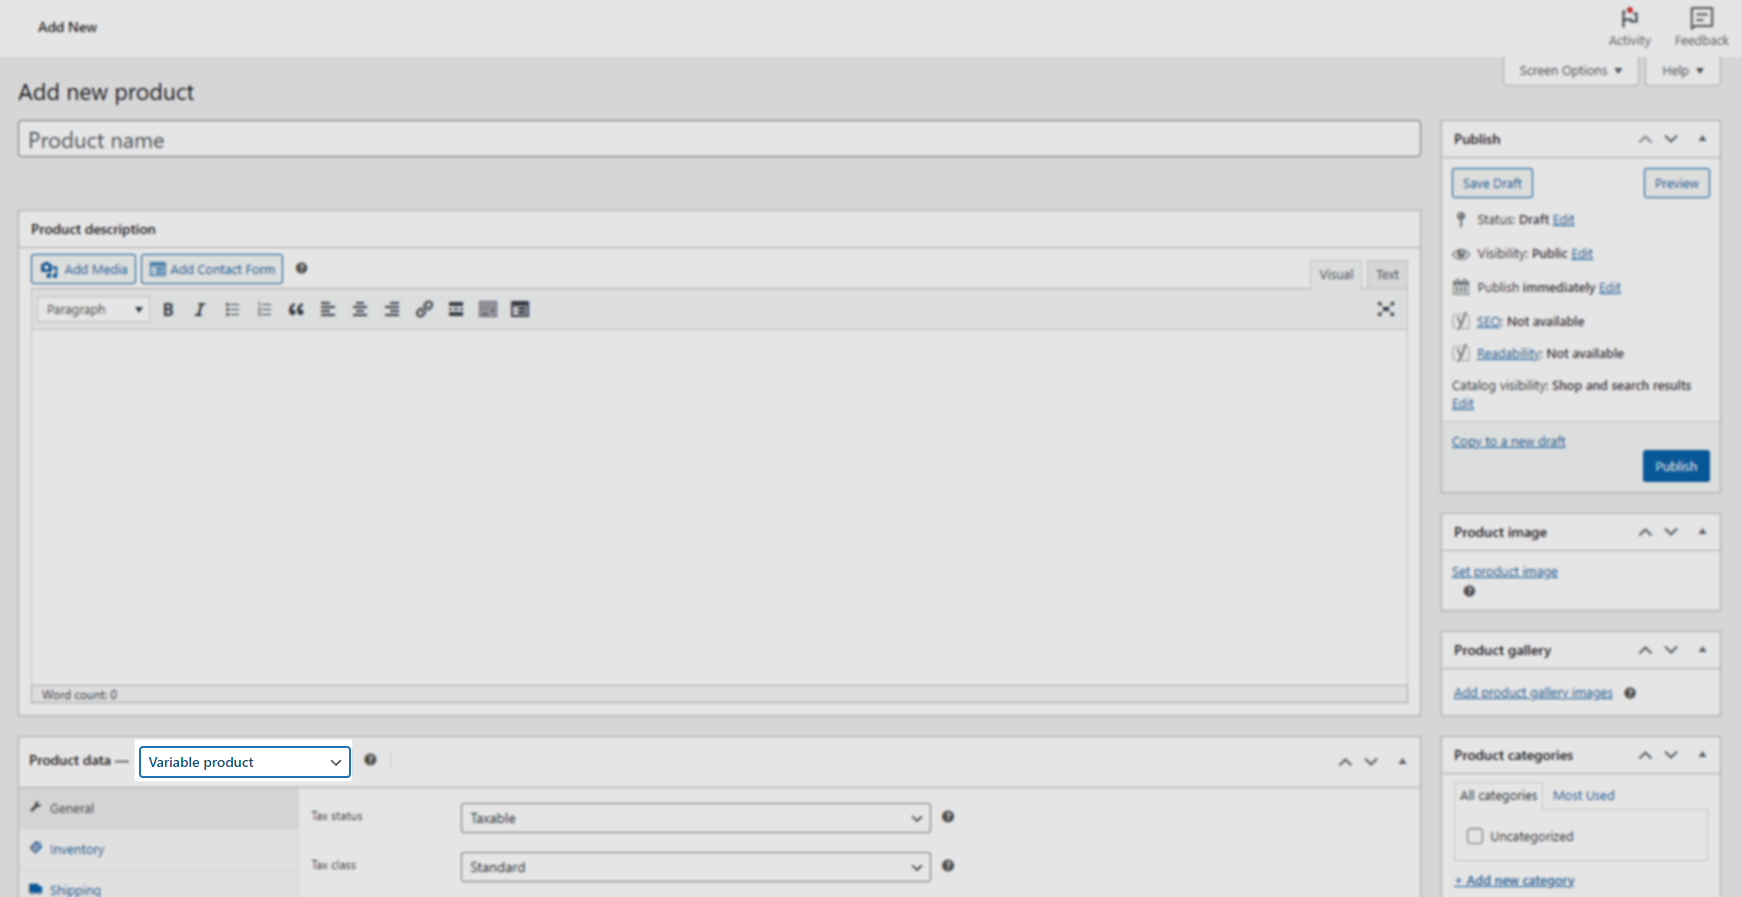
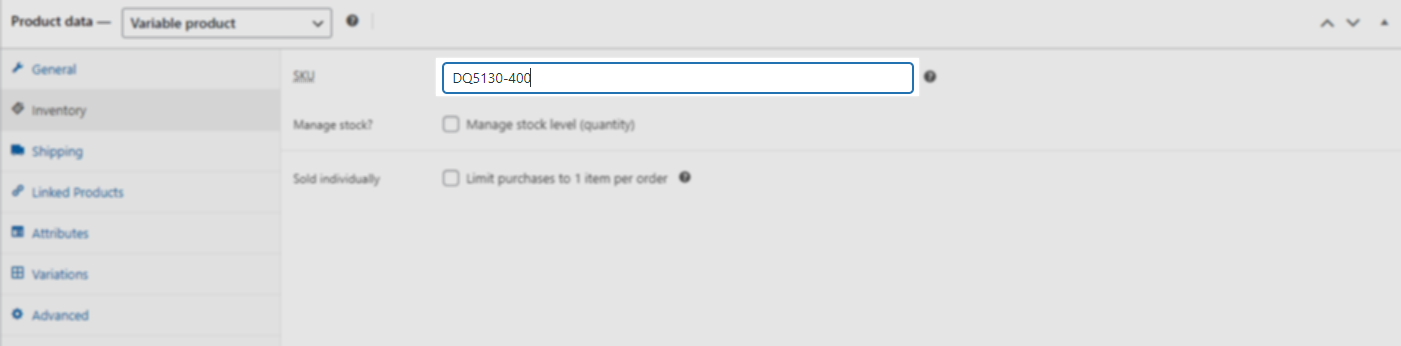
- Add a product SKU
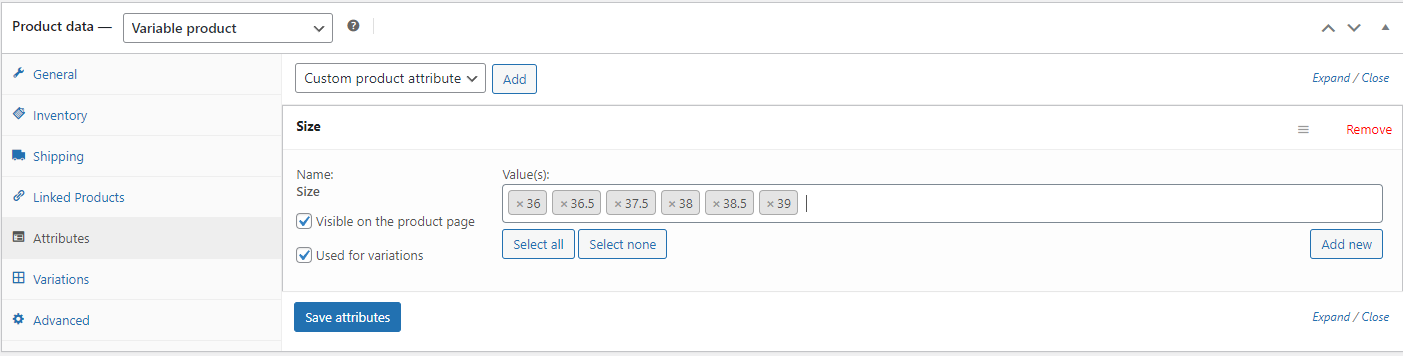
- Add attribut “Size”. Don’t forget to click on “Used for variations” to make the attribut available for the variants.
If you want to add a GS-W-PS-TD SKU on the product, you need to add a “Size” attribut with the value “SKU (xx)”.
Example: “SKU (GS)” with the value “DQ5130-400”.
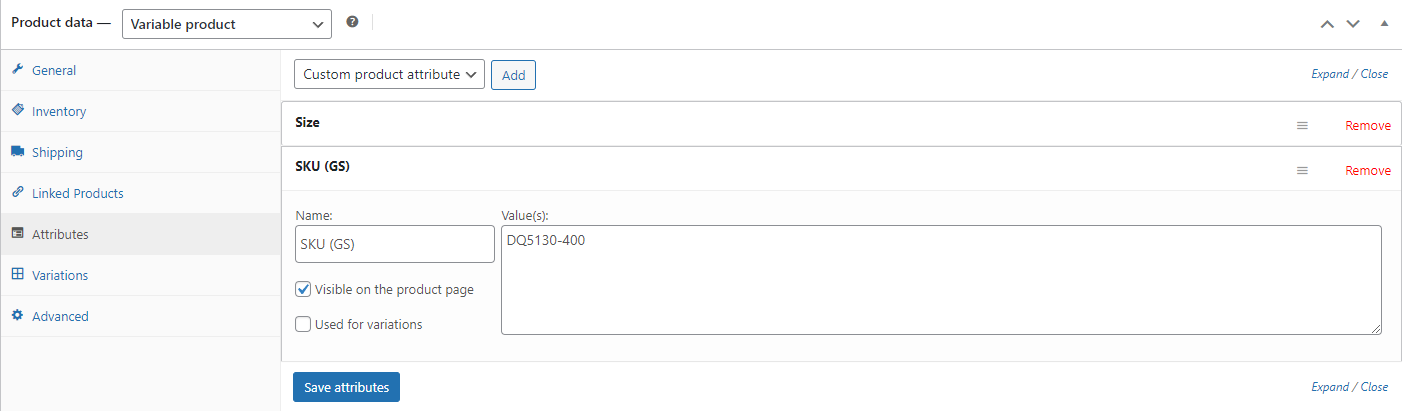
SKU (GS)SKU (W)SKU (PS)SKU (TD)
- Click on “Save Attributes” to save the attributs.
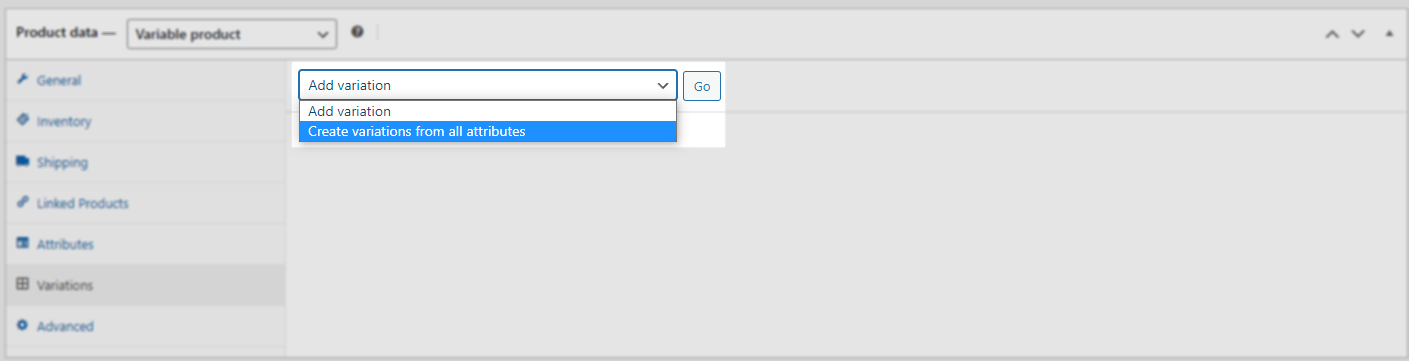
- Click on “Variations” in the left sidebar.
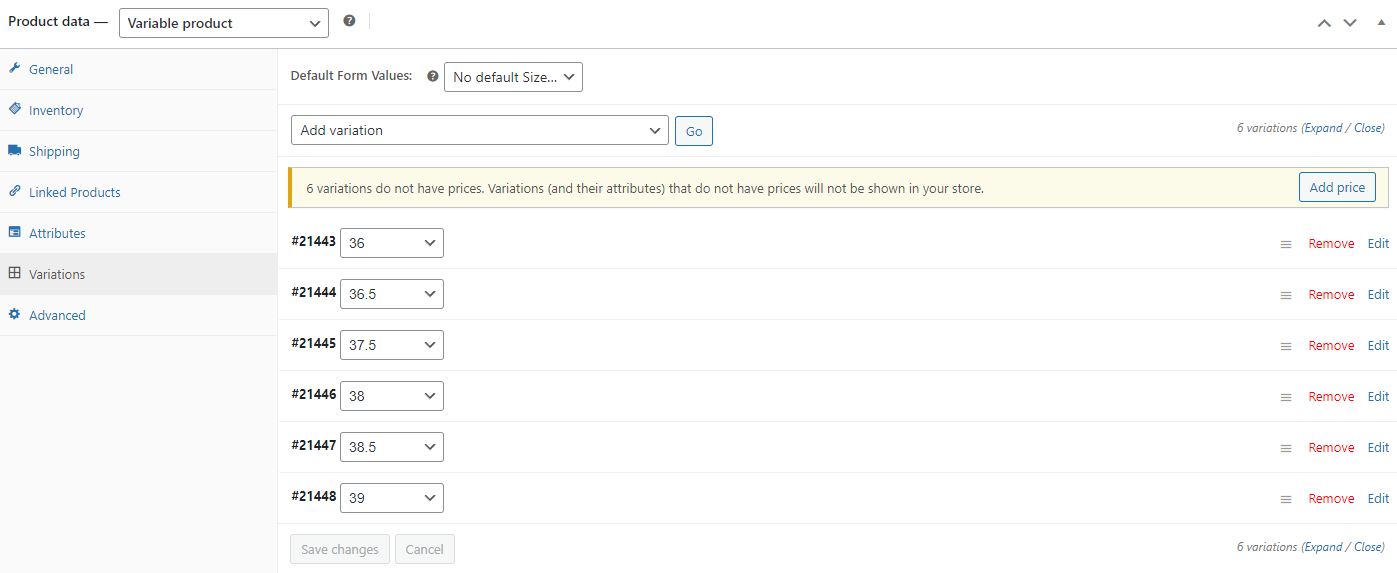
- Click on “Create variations from all attributes” to create the variants.
- Click on “Save variations” to save the variants.
- Save the product by selecting “Save Draft”. The product will not be visible on your store until you publish it.
Fields updated
- Name
- Description
- Price
- Images
- Stock (unlimited or not)